
A bin of bricks sits in almost every playroom and classroom. Most of the time, it comes out on Friday afternoon as a reward and goes back in the closet by Monday.
That habit wastes one of the best teaching tools you already own.
Building toys for learning work because kids hold the idea in their hands. A fraction stops being a picture in a workbook. It becomes a brick that is half the size of another brick. A story becomes a scene they built themselves, which makes it easier to tell. A bridge either holds the toy car or it doesn’t.
This guide shows parents and teachers how to turn free play into structured lessons. You’ll get:
- A simple 4-step lesson loop that works for any subject
- Ready-to-run activities for math, literacy, STEM, and social skills
- Age-specific plans for kids 5–7, 8–10, and 11–14
- A starter kit list for home or classroom
- Real examples from a classroom, a homeschool, and an after-school club
- A quick way to check what your kids actually learned
All activities use standard stud-compatible bricks. Most need fewer than 100 pieces.
Why Building Blocks Teach Better Than Worksheets
Worksheets ask kids to imagine. Bricks let them test. That difference changes how long a lesson sticks.
| Skill | Worksheet Approach | Brick Approach |
|---|---|---|
| Fractions | Shade part of a circle | Compare a 2×2 brick to a 2×4 brick |
| Story structure | Fill in “beginning, middle, end” boxes | Build three scenes, then tell the story |
| Force and load | Read about bridges | Build a bridge and add weight until it fails |
| Teamwork | Discuss sharing | Complete one model with split roles |
| Spatial reasoning | Match 2D shapes | Copy a 3D model from a photo |
Building blocks for learning also cut screen time. Kids stay busy with their hands, and parents and teachers can see their thinking as they build. When a child builds a tower in the wrong order, you can see exactly where they got confused.
Step 1: Use the 4-Part Lesson Loop
Every activity in this guide follows the same loop. Learn it once, and you can turn almost any topic into a brick lesson.
| Part | What Happens | Time |
|---|---|---|
| 1. SHOW | Give one clear goal. “Build a number that is bigger than 23.” | 2 minutes |
| 2. BUILD | Kids build alone or in pairs. Adults ask questions instead of giving answers. | 10–20 minutes |
| 3. TALK | Each child explains their build out loud. | 5 minutes |
| 4. RECORD | Kids draw, photograph, or write about the build. | 5 minutes |
Why the TALK Step Matters Most
Many adults skip this step, and it is where most of the learning happens. When a child explains why their bridge held, they turn a lucky build into understanding. Use the same three prompts every time:
- “What did you build?”
- “How does it work?”
- “What would you change?”
Keep Goals Narrow
“Build something about math” is too broad. “Build three towers that show 4, 7, and 10” gives a clear target. One goal per lesson is enough.
QUICK RULE: If you can’t check the goal in ten seconds, it’s too big.
Step 2: Stock a Learning Kit
A big mixed bin makes lessons slow, because kids spend the whole session digging for parts. Build a small, sorted kit instead. One kit serves 2–4 kids.
| Part | Count Per Kit | Used For |
|---|---|---|
| 1×1 bricks (two colors) | 40 | Counting, place value, patterns |
| 1×2, 2×2, 2×4 bricks | 30 each | Fractions, area, comparing sizes |
| 1×10 bricks | 10 | Tens in place value |
| Baseplates (16×16 or larger) | 2 | Area, perimeter, scenes |
| Wheels and axles | 4 sets | Ramps, motion, speed tests |
| Hinge pieces | 4 | Simple machines |
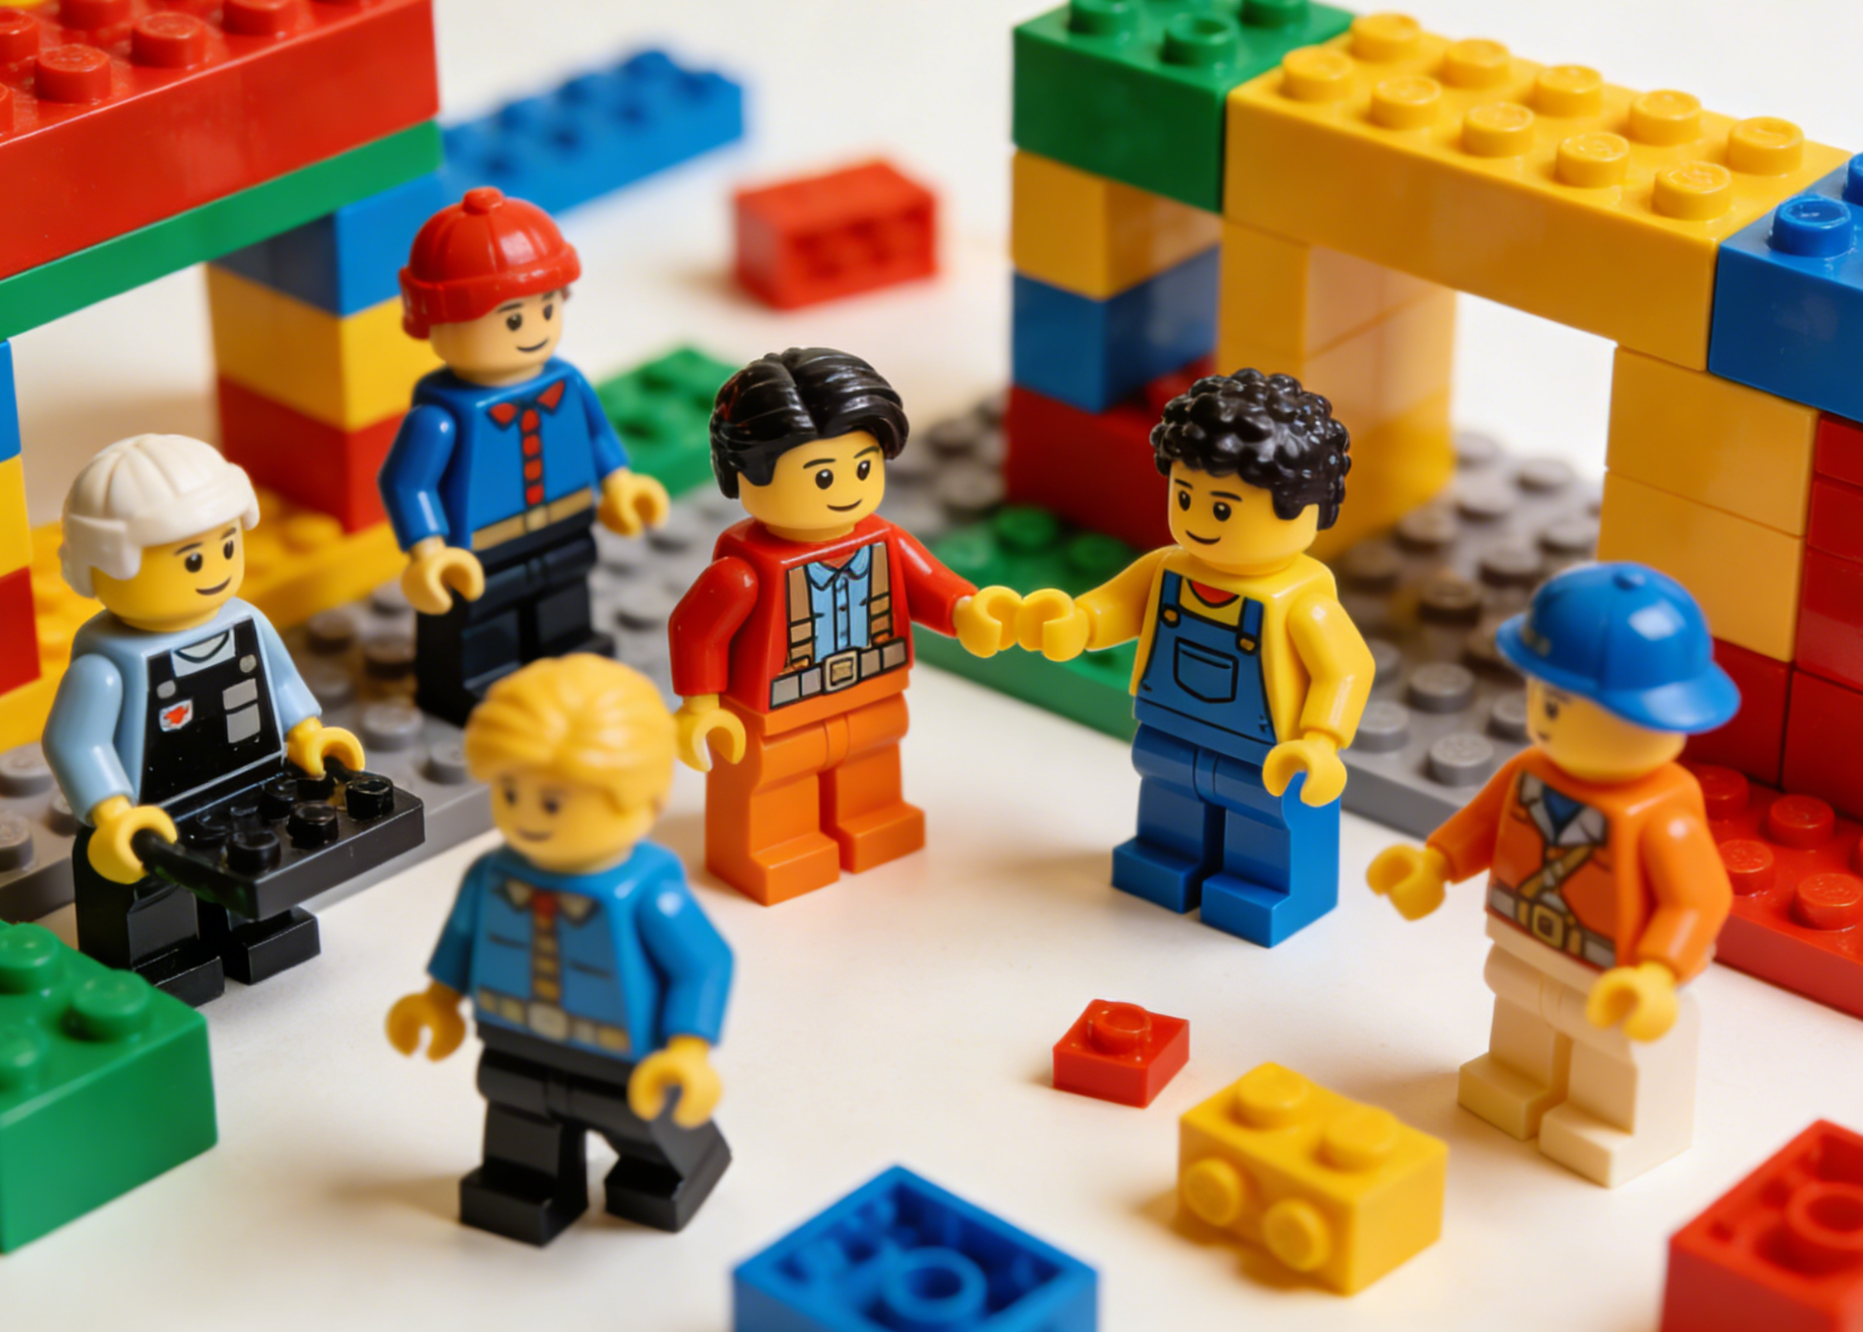
| Minifigures | 4–6 | Story characters, social role play |
| Printed letter tiles or stickers | 26+ | Spelling, phonics |
Store each kit in a lidded box with a parts list taped inside the lid. Kids count the parts back in at cleanup, which is extra counting practice every day.
🧱 Need parts for a classroom or home kit? Explore STEM sets and bulk brick packs at ModelBuilder.
SAFETY NOTE: Small bricks are a choking hazard for children under 3. Keep kits on high shelves if younger siblings are at home.
Step 3: Teach Math With Bricks
Math is the easiest subject to start with. Every brick has studs, and every stud is a unit kids can count.
Ages 5–7: Count, Compare, Pattern
Tower Compare (10 minutes)
- Roll a die. Build a tower with that many 1×1 bricks.
- Roll again. Build a second tower.
- Stand them side by side. Which is taller? By how many?
Kids see “more” and “less” instead of guessing.
Pattern Trains
Build a row: red, blue, red, blue. Ask what comes next. Move up to harder patterns: red, red, blue. Then red, blue, yellow, blue.
Ages 8–10: Place Value, Fractions, Area
Place Value Builds
- A 1×1 brick = 1
- A 1×10 brick = 10
- A row of ten 1×10 bricks laid side by side = 100
Ask kids to build 237. They need two hundreds, three tens, and seven ones. Then ask them to build the same number using no hundreds at all. Regrouping starts to make sense.
Fraction Bricks
A 2×4 brick has 8 studs. That makes it a natural “whole.”
| Brick | Studs | Fraction of a 2×4 |
|---|---|---|
| 2×4 | 8 | 1 whole |
| 2×2 | 4 | 1/2 |
| 1×2 | 2 | 1/4 |
| 1×1 | 1 | 1/8 |
Challenge: “Cover one 2×4 brick using only 1×2 bricks. How many did you need?” Four. Then “1/4 + 1/4 + 1/4 + 1/4 = 1” stops being just a rule to memorize.
Area and Perimeter
Kids build a “garden” on a baseplate using a fence of 1×1 bricks. Count the studs inside for area. Count the fence bricks for perimeter. Then challenge them to build a different garden with the same area but a longer fence.
Ages 11–14: Ratios, Scale, Volume
- Scale models: Measure a real object, like a desk or a car. Pick a scale (1 stud = 2 inches). Build it to scale.
- Volume: Build a solid cube 4 studs wide, 4 studs long, and 4 bricks tall. Predict how many 1×1 bricks it takes, then count.
- Ratios: Build a gear pair with 8 and 24 teeth. Turn the small gear three times and watch the big gear turn once. That’s a 3:1 ratio.
Step 4: Build Reading and Writing Skills
Bricks aren’t only for math. They work well for literacy, especially for kids who struggle to start writing.
Ages 5–7: Letters and Sounds
Letter Builds
Kids build the shape of a letter flat on a baseplate. Say the sound while they build it. Tracing a letter with bricks gives kids a hands-on way to learn its shape.
Word Towers
Put a letter sticker on each 2×2 brick. Kids stack bricks to spell short words: C-A-T. Swap one brick to make a new word: C-A-P. Then H-A-P. Phonics turns into a building game.
Ages 8–10: Story Building
The Three-Scene Story (30 minutes)
- Build Scene 1: where the story starts.
- Build Scene 2: the problem.
- Build Scene 3: how it ends.
- Tell the story out loud using the scenes.
- Write it down.
Kids who stare at a blank page for twenty minutes often write a full page after building. They already know what happens, because they built it.
Describe It
One child builds a small model in secret. They write five sentences describing it. A partner reads the description and tries to build a copy. Clear writing gets a matching model. Vague writing doesn’t, and kids see the difference right away.
Ages 11–14: Instructions and Persuasion
- Write a manual: Kids design an original model and write numbered steps for it. A classmate follows the steps exactly. Every gap in the instructions shows up.
- Pitch a product: Kids build an invention and write a one-page pitch. Who is it for? What problem does it solve? Why should anyone buy it?
Step 5: Run Hands-On STEM Challenges
This is where building toys for learning really pay off. STEM challenges follow the real engineering process: plan, build, test, improve.
The Engineering Cycle
| Stage | Kid-Friendly Question |
|---|---|
| Ask | What problem are we solving? |
| Plan | What will we build? Sketch it. |
| Build | Put it together. |
| Test | Does it work? |
| Improve | What will we change? |
Tape this chart next to the kit. Kids learn the cycle by using it, not by memorizing it.
Challenges by Age
| Challenge | Ages | Goal | STEM Concept |
|---|---|---|---|
| Tallest Tower | 5–7 | Tallest tower that stands for 10 seconds | Balance, stable bases |
| Ramp Race | 5–7 | Car that rolls farthest off a book ramp | Gravity, friction |
| Gap Bridge | 8–10 | Bridge spans 8 inches and holds a juice box | Load, support, beams |
| Drawbridge | 8–10 | Bridge opens, closes, and stays shut | Hinges, levers |
| Earthquake Table | 8–10 | Building survives a shaken tray | Structural design |
| Gear Spinner | 11–14 | One crank turns two wheels opposite ways | Gears, direction, ratios |
| Egg Protector | 11–14 | Vehicle carries a hard-boiled egg down a ramp safely | Force, impact, design trade-offs |
| Motorized Upgrade | 11–14 | Add a motor to a static model | Circuits, power, mechanics |
The Failure Rule
Let builds fail. A bridge that collapses teaches more than one that holds the first time. After every failure, ask: “Where did it break? Why there?” Then let kids rebuild.
🎉 Ready for gears, motors, and bigger challenges? Browse STEM kits and technical sets at ModelBuilder.
Step 6: Practice Social Skills Through Building
Group builds teach communication, patience, and fair play. They need structure, though. Without it, the loudest kid takes over.
The Barrier Game
Two kids sit with a folder standing between them. One builds a model with 10 bricks. Then they describe it, step by step. The partner builds without looking. Lift the folder and compare.
Kids learn quickly that “put the blue one there” doesn’t work. They start saying “put the blue 2×4 on top, on the left, so two studs hang off the edge.” That’s precise communication, practiced in a few minutes.
Team Roles
| Role | Job | Skill Practiced |
|---|---|---|
| Planner | Sketches the design | Leadership, planning |
| Supplier | Finds and hands out parts | Listening, following directions |
| Builder | Assembles the model | Focus, fine motor control |
| Reporter | Explains the build to the group | Public speaking |
Rotate roles each session. A quiet child who reports once often gains confidence fast.
Turn-Taking for Younger Kids (Ages 5–7)
Use “brick turns.” Each child adds one brick, then passes the build. Nobody adds two bricks in a row. A shared tower teaches waiting and sharing better than a lecture does.
Step 7: Check What Kids Learned
A finished model looks impressive, but what matters is the learning behind it. Use simple tools to check.
The Build Journal
Each child keeps a notebook. After every lesson, they add:
- A photo or drawing of the build
- One sentence: “Today I learned…”
- One question they still have
Flip back after a month. You’ll see real progress in both the builds and the writing.
A Simple Rubric
| Score | What It Looks Like |
|---|---|
| 3: Got It | Built the goal and explained why it works |
| 2: Getting There | Built the goal, explanation is unclear |
| 1: Starting | Needs help reaching the goal |
Score the explanation, not just the model. A wobbly bridge with a clear explanation beats a perfect bridge the child can’t explain.
Real-World Scenarios
Ms. Carter’s 2nd Grade Class, Columbus, Ohio
Ms. Carter had 24 students and one bin of mixed bricks. She split the bin into six sorted kits, one per table. Every Tuesday became “Brick Math.” She taught place value with 1×1 and 1×10 bricks for six weeks. Her students used the bricks for regrouping before they ever saw it written on paper.
What worked: Small kits and one weekly slot. Kids knew the routine and got straight to work.
The Hughes Family Homeschool, Bristol, UK
Three kids, ages 6, 9, and 12. Their mom runs one brick lesson a day, using the same theme at three levels. On “Bridge Day,” the 6-year-old built the tallest tower, the 9-year-old built the gap bridge, and the 12-year-old calculated how much weight each design held. At dinner, they compared results.
What worked: One theme with three difficulty levels. Everyone learned together at their own pace.
After-School STEM Club, Hamburg, Germany
Fourteen kids, ages 10 to 13. The club leader runs a monthly challenge with a final “test day.” Parents come to watch the egg-protector vehicles race down a ramp. Teams photograph their builds and share them in an online builder community. Several kids now design their own challenges.
What worked: A real audience. Kids built more carefully knowing parents and other builders would see the results.
Common Mistakes and Quick Fixes
| Mistake | What Happens | Fix |
|---|---|---|
| Giving answers too fast | Kids stop thinking | Ask a question instead |
| Goals too broad | Builds drift off-topic | One clear, checkable goal |
| Skipping the TALK step | Learning doesn’t stick | Use the three prompts every time |
| Huge mixed bins | Lessons stall while kids dig | Small, sorted kits |
| Grading the model only | Kids copy instead of think | Score the explanation |
| Same activity every week | Interest fades | Rotate subjects weekly |
| No time for cleanup | Lost parts | Count parts back in as a math task |
Your Learning Kit Launch Checklist
- ✅ Lesson loop posted: SHOW, BUILD, TALK, RECORD
- ✅ Kits sorted with parts lists in each lid
- ✅ One weekly slot each for math, literacy, STEM, and social skills
- ✅ Engineering cycle chart on the wall
- ✅ Build journals ready
- ✅ Rubric printed
- ✅ Small parts stored away from children under 3
Turn Every Build Into a Lesson
Building blocks for learning work best with a little structure. Use the 4-part loop. Keep goals narrow and kits sorted. Teach math with studs, literacy with scenes, STEM with challenges, and teamwork with roles. Then check what kids learned through talk and journals, not just finished models.
Start small. Pick one activity from this guide and run it this week. Watch how differently kids talk about a fraction once they’ve held it in their hands.
🏆 Build your learning kit: Shop ModelBuilder
Share your best classroom or kitchen-table build with other parents and teachers. Ideas spread quickly in this community.
Frequently Asked Questions
What are the best building toys for learning at home?
The best building toys for learning use standard stud-compatible bricks in a range of sizes. Look for sets that include 1×1, 1×2, 2×2, and 2×4 bricks, baseplates, wheels, and hinges. These parts cover math, storytelling, and STEM challenges. For older kids, add gears and motors for mechanical projects.
How do building blocks for learning help with math?
Building blocks for learning give kids a physical model of math ideas. Studs work as units for counting. A 2×4 brick makes a clear “whole” for fractions. Bricks laid on a baseplate show area and perimeter. Kids understand concepts faster when they can build, see, and touch them.
Can teachers use building toys in a classroom with many students?
Yes. Split one large collection into small sorted kits, one per table of 2–4 students. Run lessons with a single clear goal and a short time limit. Kits with parts lists make cleanup fast, and students can count the parts back in as part of the lesson.
What age is right for learning-focused building activities?
Most children can start simple counting, pattern, and story activities with standard bricks around age 5. Ages 8–10 suit fractions, place value, and engineering challenges. Ages 11–14 handle ratios, scale models, gears, and motors. Always keep small parts away from children under 3.
How often should kids do brick-based lessons?
One to three sessions a week works well. Each session takes 20–40 minutes. Rotate subjects so math, literacy, STEM, and social skills each get regular time. Short, regular lessons build skills better than one long session a month.